Do you want to promote your YouTube Channel?
With Adsterra Self-Service Platform it is easy as pie.
First of all, you need to sign up for Adsterra advertiser account. Once you have it you can start creating your first YouTube channel advertising campaign.
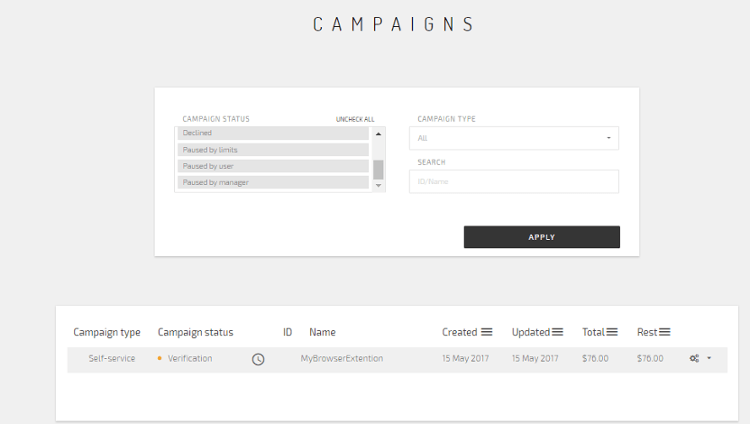
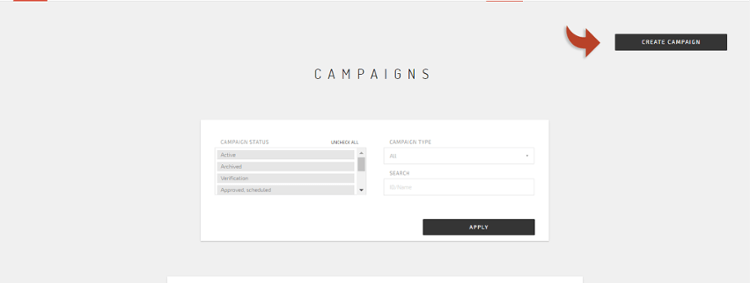
Log in and go to “Campaigns” page. At the right corner of the screen there is a black button create campaign, by clicking it you’re transmitted to the menu where you’re going to choose all the options for your campaign.
Now I will show you how to launch your CPM YouTube channel campaign. Let’s take Life Hack Channel and promote it in India.
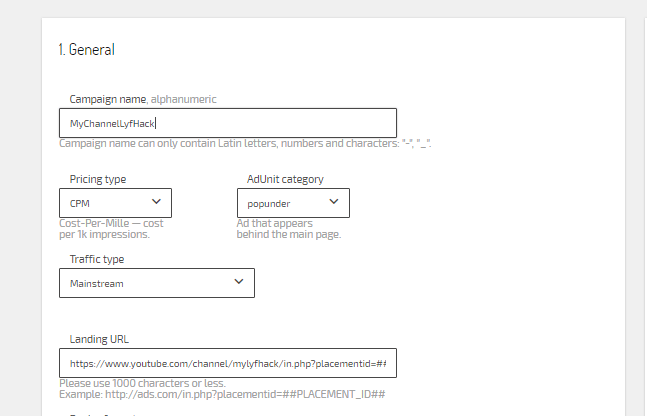
Step 1. My campaign needs a name, so I pick “MyChanelLyfHack”. Then, for a traffic type, it would be more preferable if I choose standard mainstream traffic and put my extension landing beginning with https://
It is important to insert URL correctly otherwise the campaign will not be launched.
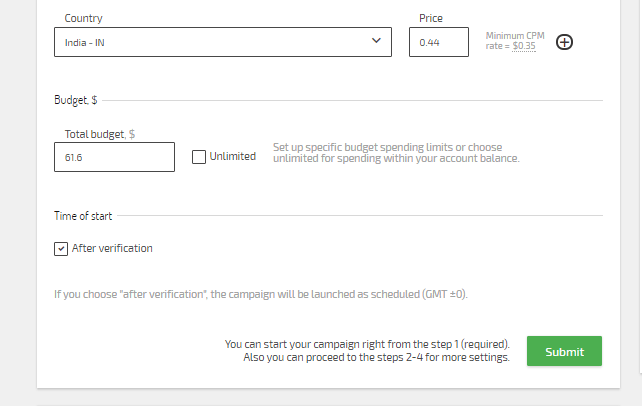
Then, when choosing a device I consider that I would need users from Desktop and Mobile devices. But as I can choose only one device format for one campaign, now I choose Desktop, but afterwads I can duplicate my campaign and choose Mobile. My channel is in English, but I need to reach my audience in India so I pick India in the country list and set the CPM price. To check the rate I go to prices page https://partners.adsterra.com/check-prices. Here is how it looks: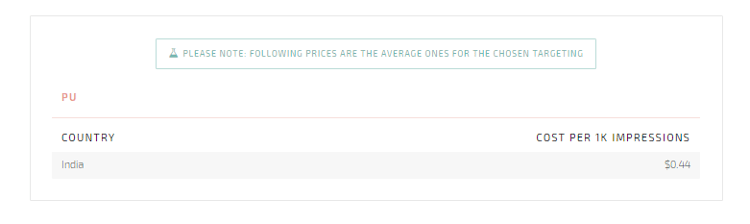
Let’s assume I want to run my campaign for 7 days and I need 20К from each country daily, so my Total Budget will be $61.6 (20*7*0.44).
This was an example of how to estimate your campaign budget if you have determined your goals. However, if you do not have a specific amount of traffic needed, you can check the box of unlimited budget and your campaign will not stop once the budget is over.
By setting up Time of start after verification, the campaign will commence showing ads right from the moment the campaign is approved.
I can start my campaign right on, but it would be better if I apply a bit more targeting, to be sure that my ads would reach only those, for whom my extension will be suitable.
For promoting my channel it is not important which operating system or browser does my visitor use. So I don’t need to put these targetings.
The most important targeting that I need is the Language, my channel is in English so I choose English in the tab.
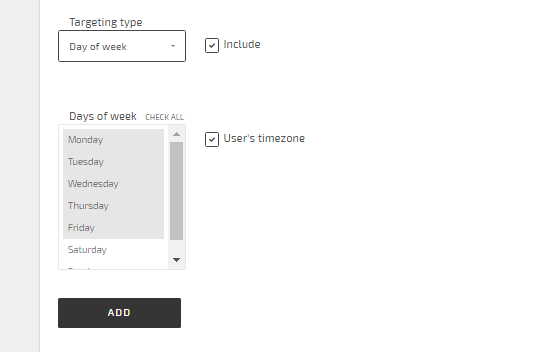
I can pick days of the week at the tab Day of Week to run my campaign for chosen days only. I’ll leave it as it is since for me it doesn’t matter when users watch my channel.
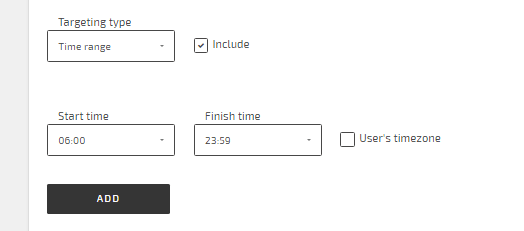
Adding time range can as well precise targeting.
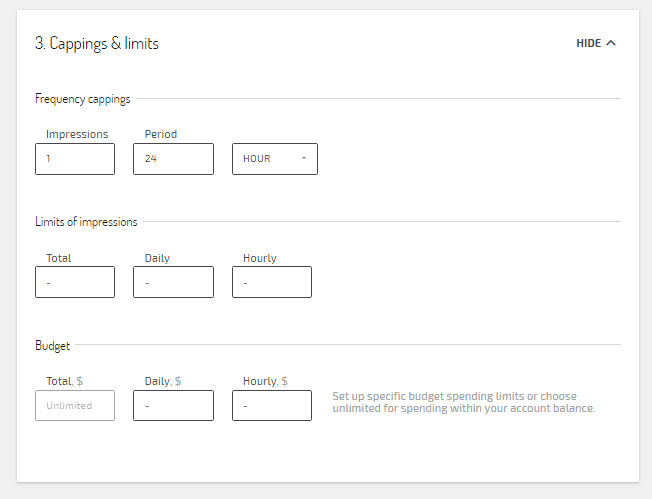
My step 3 is setting frequency capping & limits. Here I can limit how many times an ad is shown to one user (Frequency capping tab). In addition, I can limit all my ad impressions (Limits of impressions tab). Also I am able to set up daily limits for my budget. I would leave the unlimited option to test my campaign.
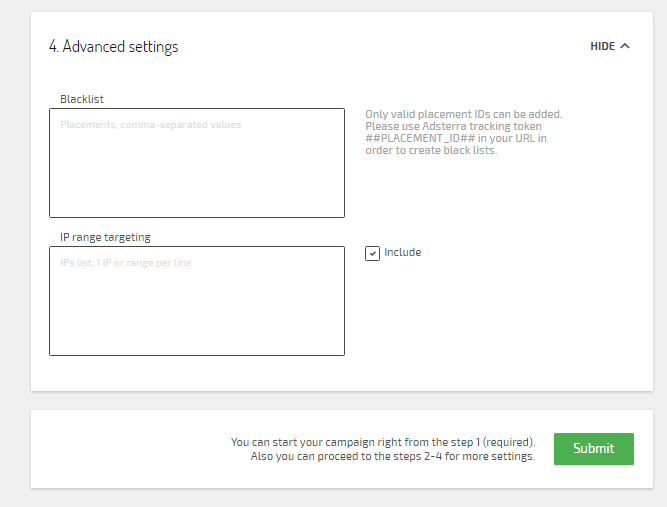
In the step 4 I may exclude unwanted placements. But for now since I haven’t launched the campaign yet I don’t have any information of which placements do not work well for me. I put ##PLACEMENT_ID## in my URL to track placements so that I will be able to make blacklists further once the campaign is ongoing and is showing performance.
What is for IP range, if I need to target for a specific range, I would put it one per line like this:
41.206.128.0/19
196.128.0.0/11
But for now I don’t need to, so I’ll leave it blank.
Now I am 100% ready! After clicking SUBMIT, the campaign goes for approval, it takes 3 hours maximum. You can see the status in your Campaigns menu. Moreover, you will receive an email as soon as the campaign is approved or declined. If your campaign is declined, don’t worry! You can make necessary changes in your campaign and send it for approval once again. Good luck and let the traffic come to you!